
DIY Refrigerator Repair Tips for Charlotte NC Residents: How to Fix Common Fridge Problems Safely and Effectively
Nothing throws off your daily rhythm quite like a refrigerator that’s not chilling, is leaking, won’t make ice, or is making alarming noises. In this guide, Charlotte NC homeowners and property managers will discover straightforward, safe DIY refrigerator repair tips for cooling failures, water leaks, ice maker hiccups, and strange sounds. We’ll also provide clear guidance on when it’s best to bring in A1 Appliance Home Services’ certified technicians. You’ll learn how to pinpoint common issues, follow step-by-step fixes, prevent future problems, and understand the advantages of professional service to keep your appliance running like a dream.
What Are the Most Common Refrigerator Problems in Charlotte NC?
Refrigerator troubles often pop up due to wear and tear from age, dust buildup from the environment, or simply overlooked maintenance. Catching these malfunctions early is key to preventing food spoilage and damage to essential components. For instance, dusty condenser coils can seriously impact cooling performance, while a blocked defrost drain can lead to messy leaks. Understanding each symptom is the first step toward targeted troubleshooting in the sections that follow.
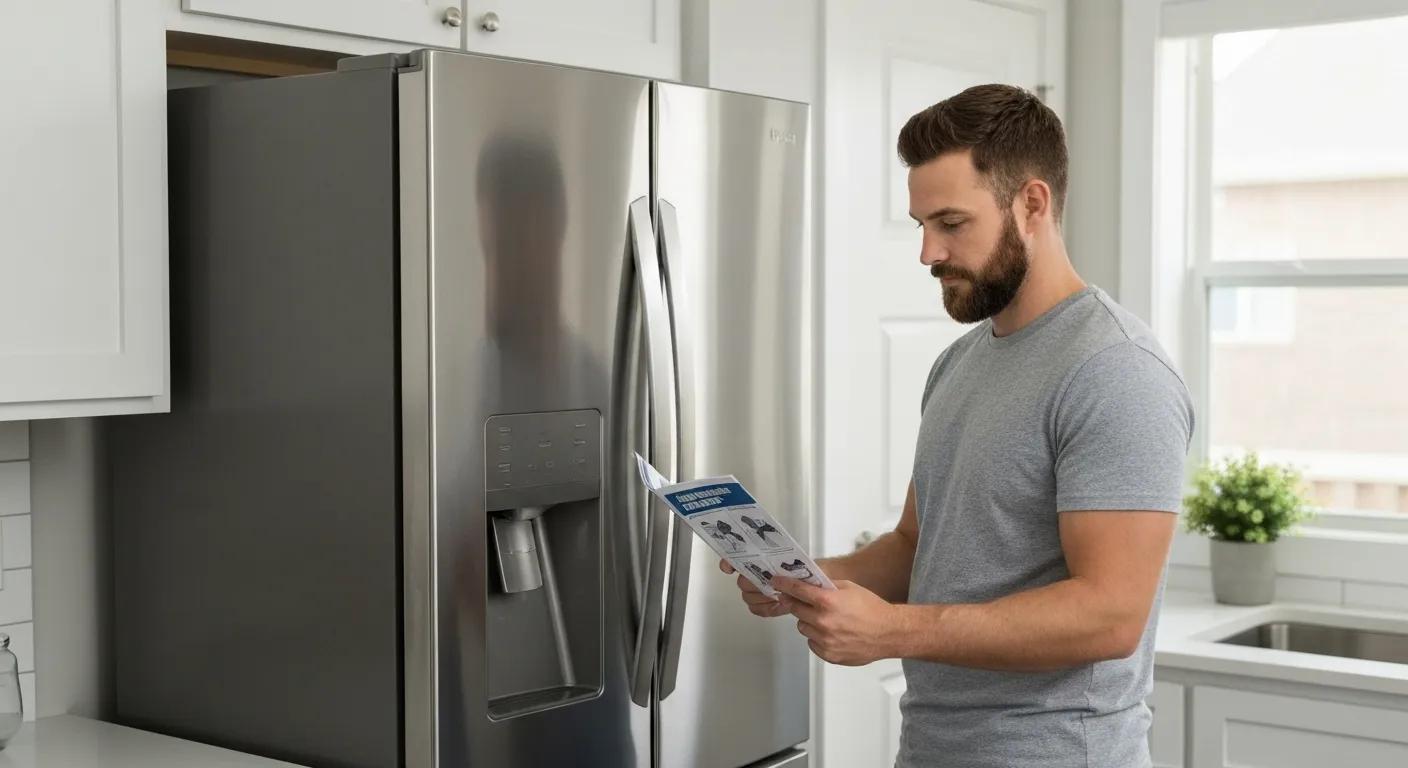
How to Identify If Your Refrigerator Is Not Cooling Properly
When your refrigerator decides to stop chilling, a few quick checks can help you diagnose the cooling failures.
- Pop a refrigerator thermometer in the middle shelf to check the internal temperature.
- Inspect the door gasket for any gaps or tears that might be letting warm air sneak in.
- Feel the condenser coils, usually located behind or underneath the unit, for any dust buildup.
- Listen closely for the compressor’s hum to confirm the cooling cycle is actually running.
These simple checks will reveal whether your cooling issues stem from minor obstructions or more significant mechanical faults, guiding you toward the right repair path.
What Causes Refrigerator Water Leaks and How Can You Spot Them?
Water pooling around the base of your refrigerator usually points to a blocked defrost drain or a compromised water supply line. Pinpointing the exact source of the leak is crucial for applying the correct fix.
| Potential Cause | What You Might See | How to Find It |
|---|---|---|
| Blocked defrost drain | Water pooling under the crisper drawers | Remove the back panel inside the fridge and look for ice buildup in the drain area. |
| Cracked water line | A persistent drip at the bottom of the fridge | Carefully inspect the water hose connecting to the back of the unit for any visible splits or damage. |
| Misaligned drip pan | Water overflowing onto the floor | Gently slide out the drip pan located underneath the refrigerator and check if it’s positioned correctly. |
Figuring out whether the drain or the supply line is the culprit will direct you to the appropriate DIY solution in the next section.
Why Does Your Ice Maker Stop Working and How to Troubleshoot It?
Ice maker malfunctions are frequently caused by a frozen fill tube, a faulty water inlet valve, a clogged filter, or a glitch in the control module.
- Double-check that the water supply valve connected to your refrigerator is fully open.
- Use a multimeter to test the water inlet valve for electrical continuity.
- Gently defrost the fill tube by using warm water or a hairdryer on a low heat setting.
- Reset the ice maker module by following the specific procedure outlined by your appliance’s manufacturer.
Following these steps usually gets your ice production back on track, often before you even need to consider professional service.
What Do Strange Noises from Your Refrigerator Mean?
Unusual sounds coming from your refrigerator can often signal issues with the fan motor, strain on the compressor, or ice buildup inside the unit.
| The Sound | What It Likely Means | A Quick Check You Can Do |
|---|---|---|
| Buzzing or clicking | A defective start relay might be the culprit | Listen near the compressor when the cooling cycle should be running. |
| Rattling | The condenser fan might be loose | Gently try to spin the fan blade by hand to see if it moves freely or feels wobbly. |
| Gurgling | This is often the sound of refrigerant flowing | Notice if the noise stops or changes when you open the refrigerator door. |
| Grinding | There could be ice buildup on the evaporator fan | Carefully inspect the freezer coils for any signs of frost or ice accumulation. |
Matching each sound to its potential source will help you decide whether a simple DIY fix is in order or if it’s time to call in a technician for more complex repairs.
How Can You Fix a Refrigerator Not Cooling: Step-by-Step DIY Guide for Charlotte NC Homeowners
A refrigerator that struggles to maintain the correct temperature often has dust-clogged coils or a thermostat that’s slightly out of adjustment. Clearing away debris and recalibrating the controls can usually restore efficient cooling without needing a service call.
What Tools and Safety Precautions Are Needed for DIY Cooling Fixes?
Before you dive into any repair work, make sure you have the essential tools ready and follow these safety measures to protect both yourself and your appliance.
- Always unplug the refrigerator first to eliminate any risk of electrical shock.
- Wear insulated gloves and safety goggles throughout the entire maintenance process.
- You’ll need a coil-cleaning brush and a vacuum cleaner equipped with a narrow nozzle attachment.
- Ensure your work area is dry and has good ventilation.
Proper preparation is key to preventing injuries and avoiding damage to delicate components, all while boosting your refrigerator’s cooling performance.
How to Clean Condenser Coils to Improve Cooling Efficiency
Dirty condenser coils significantly hinder heat exchange, leading to warmer temperatures inside your refrigerator. Cleaning them restores proper airflow and refrigeration capacity.
- Carefully pull the refrigerator away from the wall and unplug it.
- Locate the condenser coils, typically found behind or underneath the unit.
- Use your coil brush to gently loosen any accumulated dust and debris.
- Vacuum the coils thoroughly until no loose particles remain.
- Plug the refrigerator back in and monitor the internal temperature over the next 24 hours.
Clearing these coil blockages often resolves cooling inefficiencies by optimizing refrigerant flow and reducing the compressor’s workload.
How to Check and Adjust the Thermostat Settings
An improperly set thermostat can cause frustrating temperature fluctuations and even lead to food thawing. Adjusting it correctly ensures a stable internal climate for your groceries.
- Find the thermostat control, usually located inside the fresh-food compartment.
- Set the refrigerator to 37°F and the freezer to 0°F for optimal food preservation.
- Allow a full 24 hours for the new settings to stabilize and take effect.
- Use your refrigerator thermometer again to check the temperature and readjust if necessary.
Fine-tuning the thermostat is a quick way to restore proper internal temperature control when settings have drifted.
When Should You Call a Professional for Cooling Problems?
- If you notice a distinct lack of compressor vibration or hum even after cleaning the coils.
- If you detect a strong chemical or refrigerant odor, which could indicate a leak.
- When the thermostat control seems unresponsive, even after attempting calibration.
- If you observe frost building up inside the coils, suggesting a problem with the defrost system.
Recognizing these more serious symptoms ensures you get timely service from A1 Appliance Home Services’ certified technicians and helps prevent more costly damage down the line.
What Are Simple DIY Solutions for Refrigerator Water Leaks in Charlotte NC?
Leaking refrigerators often stem from an overflow in the defrost system or issues with the water-related components. Clearing blockages and realigning parts can typically stop minor drips before professional repair becomes necessary.
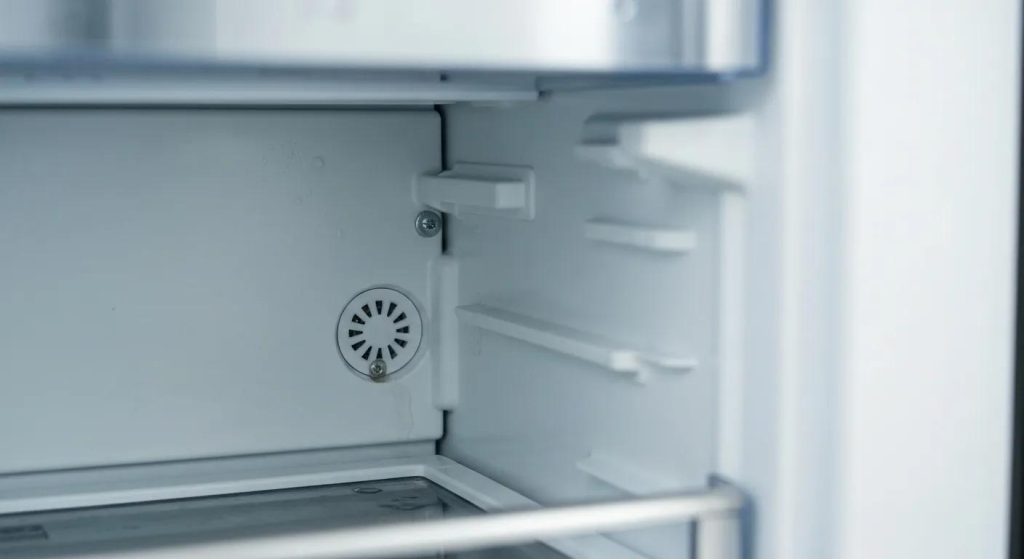
How to Inspect and Clear the Defrost Drain to Stop Leaks
A clogged defrost drain channel can trap meltwater, causing it to pool at the base of the refrigerator cabinet.
- Unplug the refrigerator and locate the drain opening, usually found at the base of the evaporator cover inside the freezer.
- Carefully remove the cover panel to get a clear view of the drain channel.
- Gently flush the drain channel with warm water until it runs clear.
- Reassemble the panel and then plug the refrigerator back in to resume normal operation.
Clearing out the defrost drain is a key step in preventing water buildup and ensuring condensation is safely directed to the drip pan.
How to Check Water Lines and Drip Pans for Damage or Blockages
Damaged water supply lines and improperly positioned drip pans are common culprits behind persistent water on your kitchen floor.
- Turn off the water supply valve, typically located behind the refrigerator.
- Carefully inspect the flexible water tubing for any signs of cracks, kinks, or other damage.
- Slide out the drip pan from underneath the fridge and confirm that it’s sitting flush and correctly positioned.
- Replace any cracked hoses or warped pan components immediately.
Ensuring that all water pathways are intact and properly aligned will help prevent future leaks and protect your flooring.
When Is Professional Repair Needed for Refrigerator Leaks?
- If water continues to leak from inside the freezer or fresh-food compartments even after your attempts.
- When the defrost heater appears to be malfunctioning repeatedly, causing excessive ice buildup.
- If you discover a cracked water line that is located within the sealed back panel of the refrigerator.
- If the drain pan shows signs of corrosion that would require replacing the component.
Persistent or serious leaks should always be handled by experienced technicians to safeguard your kitchen and prevent potential hidden damage.
How to Troubleshoot and Repair Ice Maker Issues Yourself in Charlotte NC
Ice maker failures often involve problems with the inlet valve or errors in the control module. Replacing worn-out valves and resetting the mechanism are common fixes that can restore ice production.
What Are Common Ice Maker Problems and Their Symptoms?
- No ice is being formed, even though there’s an adequate water supply.
- Ice cubes are partial or hollow, which can indicate a clogged fill tube.
- Production is slow, meaning the ice maker cycles infrequently.
- Ice has an off-taste, possibly due to a clogged water filter.
Matching the specific symptoms to the likely fault will guide you toward the correct repair sequence without any guesswork.
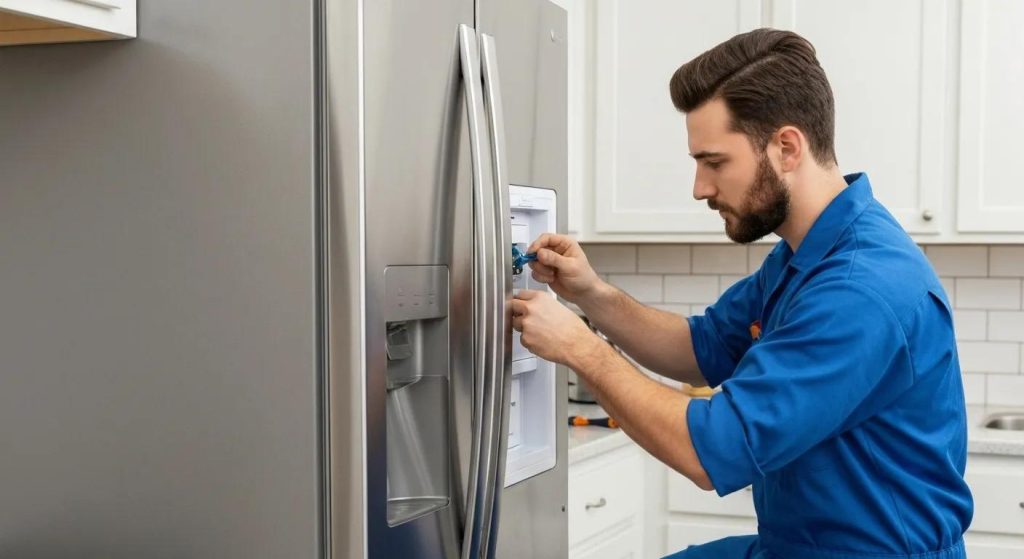
How to Test and Replace the Water Inlet Valve
A faulty water inlet valve is a common reason why water doesn’t flow properly into the ice maker assembly.
- Unplug the refrigerator and locate the water inlet valve, usually found on the back of the unit.
- Carefully disconnect the wiring and remove any mounting screws holding the valve in place.
- Use a multimeter to test the valve solenoids for electrical continuity.
- If the readings fall outside the manufacturer’s specified range, install a replacement valve.
- Reconnect all components and then plug the refrigerator back in to verify operation.
Swapping out a worn-out inlet valve is often all it takes to restore reliable ice production and avoid lengthy delays.
When to Seek Emergency Refrigerator Repair for Ice Maker Failures
- If water is pooling around the unit, possibly due to a ruptured inlet valve.
- If you notice sparks or a burning smell coming from the ice maker control module.
- When the ice maker repeatedly short-cycles or overfills the ice tray, causing water to spill.
Prompt intervention by professionals can prevent water damage and ensure the safe restoration of your ice production.
Why Choose Professional Refrigerator Repair Services in Charlotte NC After DIY Attempts?
Professional repair ensures that complex or potentially hazardous failures are handled with precision and safety, all backed by guaranteed service and local expertise.
What Are the Benefits of Certified Local Technicians for Refrigerator Repair?
- They leverage brand-specific training for a wide range of models, from Maytag to Samsung.
- They can often provide same-day or next-day appointments for urgent repair needs.
- They utilize professional tools and only manufacturer-approved replacement parts.
Local certification guarantees efficient repairs and helps minimize the chances of repeat breakdowns.
How Transparent Pricing and Warranties Protect Charlotte NC Homeowners
- You’ll receive clear, upfront quotes before any work begins.
- You can avoid surprise fees thanks to itemized invoicing for all services.
Transparent pricing and robust warranties offer valuable peace of mind when you need professional service for your refrigerator.
With extensive brand expertise, A1 Appliance Home Services offers comprehensive support for a wide variety of refrigerator systems, ensuring 360° care for your appliance.
While regular refrigerator maintenance and minor repairs can certainly save you time and money, knowing precisely when to call in certified professionals is crucial for ensuring your appliance operates reliably. Armed with these DIY tips, Charlotte NC residents can confidently tackle common fridge problems. However, remember to trust A1 Appliance Home Services for expert assistance, transparent pricing, and lasting warranties when more complex issues arise. Schedule a service appointment today to keep your refrigerator running at its best and protect your home from unexpected failures.